
Published: April 28, 2024 9:02
updated: April 4, 2025
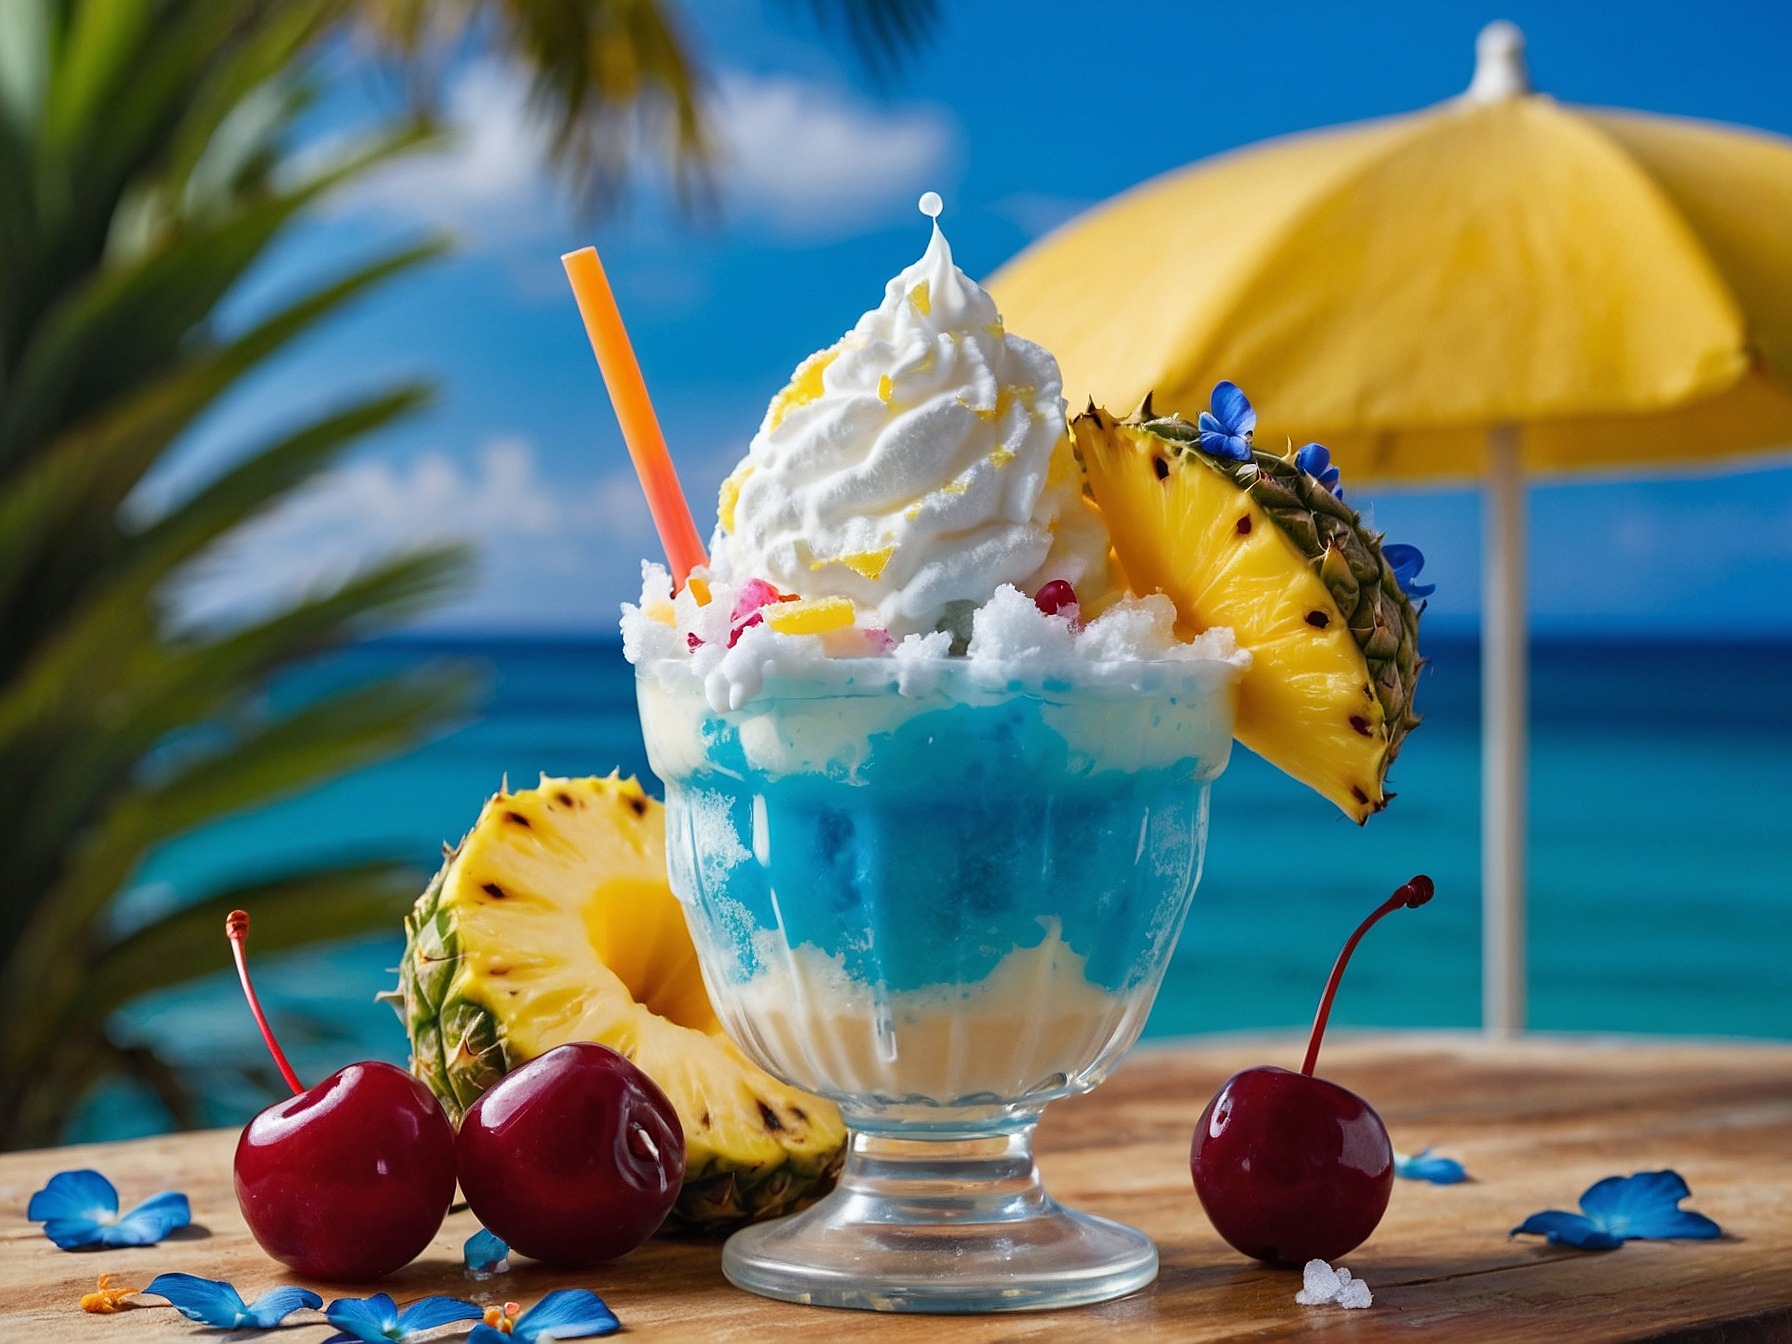
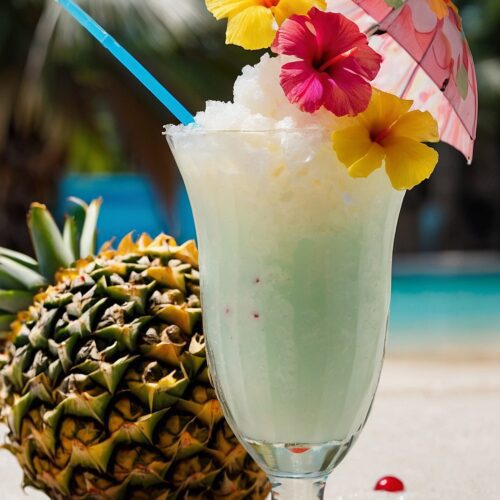
During hot summer days under bright sunlight your mind searches for cold sweetness that satisfies your thirst. The Piña Colada Snow Cone stands alone as the best refreshment option. The recipe provides more than just typical snow cones because each serving brings an enclosed tropical paradise. This definitive guide provides you with all necessary steps to make flawless Piña Colada Snow Cones including the fundamental recipe and several customized versions alongside expert advice. The first step to start this icy journey is grabbing an ice shaver along with a dependable blender.
The Classic Piña Colada Snow Cone Recipe
To begin we need the traditional Piña Colada Snow Cone as our main base recipe. This effortless recipe provides an authentic tropical taste experience through pineapple and coconut flavors always recognized by all of us.
Ingredients:
- 1 cup Pineapple Juice (chilled)
- ½ cup Coconut Cream (chilled)
- 2-3 tablespoons Sweetener (simple syrup, agave nectar, or sugar dissolved in a little warm water, adjust to your taste)
- Shaved Ice (as much as you need!)
- Optional garnishes: Pineapple wedges, maraschino cherries, toasted coconut flakes
Detailed Step-by-Step Instructions:
- Chill Your Liquids: Complete both the pineapple juice and coconut cream by refrigerating properly. A properly cold refrigerator makes the syrup penetrate ice cubes more efficiently.
- Prepare Your Sweetener: If you’re using sugar, dissolve it in warm water until clear. Let it cool completely. Simple syrup (equal parts sugar and water, simmered until sugar dissolves) or agave nectar works perfectly, too.
- Combine the Syrup: In a small bowl or pitcher, mix chilled pineapple juice, coconut cream, and your selected sweetener. You should initially add 2 tablespoons of flavored sweetener before tasting. The mixture needs extra sweetener based on your personal preference for sweetness. Bear in mind that the ice will minimize the sweet taste.
- Shave Your Ice: Now comes the fun part! Using a snow cone machine requires following its user guide for appropriate ice shaving according to your desired cone or cup count. The absence of a machine does not prevent you from using a blender for this process. You should add ice pieces just one at a time to your blender and blend briefly until you achieve a smooth, snowy appearance. Keep blending until you achieve fine snow, but stop before developing a slushy texture, since you desire light and fluffy snow.
- Pack the Ice: Gently pack the shaved ice into your snow cone cups or cones, creating a rounded top. Don’t pack it too tightly, as the syrup needs space to flow through.
- Drizzle the Piña Colada Goodness: Slowly pour the pineapple-coconut mixture over the packed ice. Could you start at the top and let it soak down? You might need to drizzle a little more to saturate the ice fully.
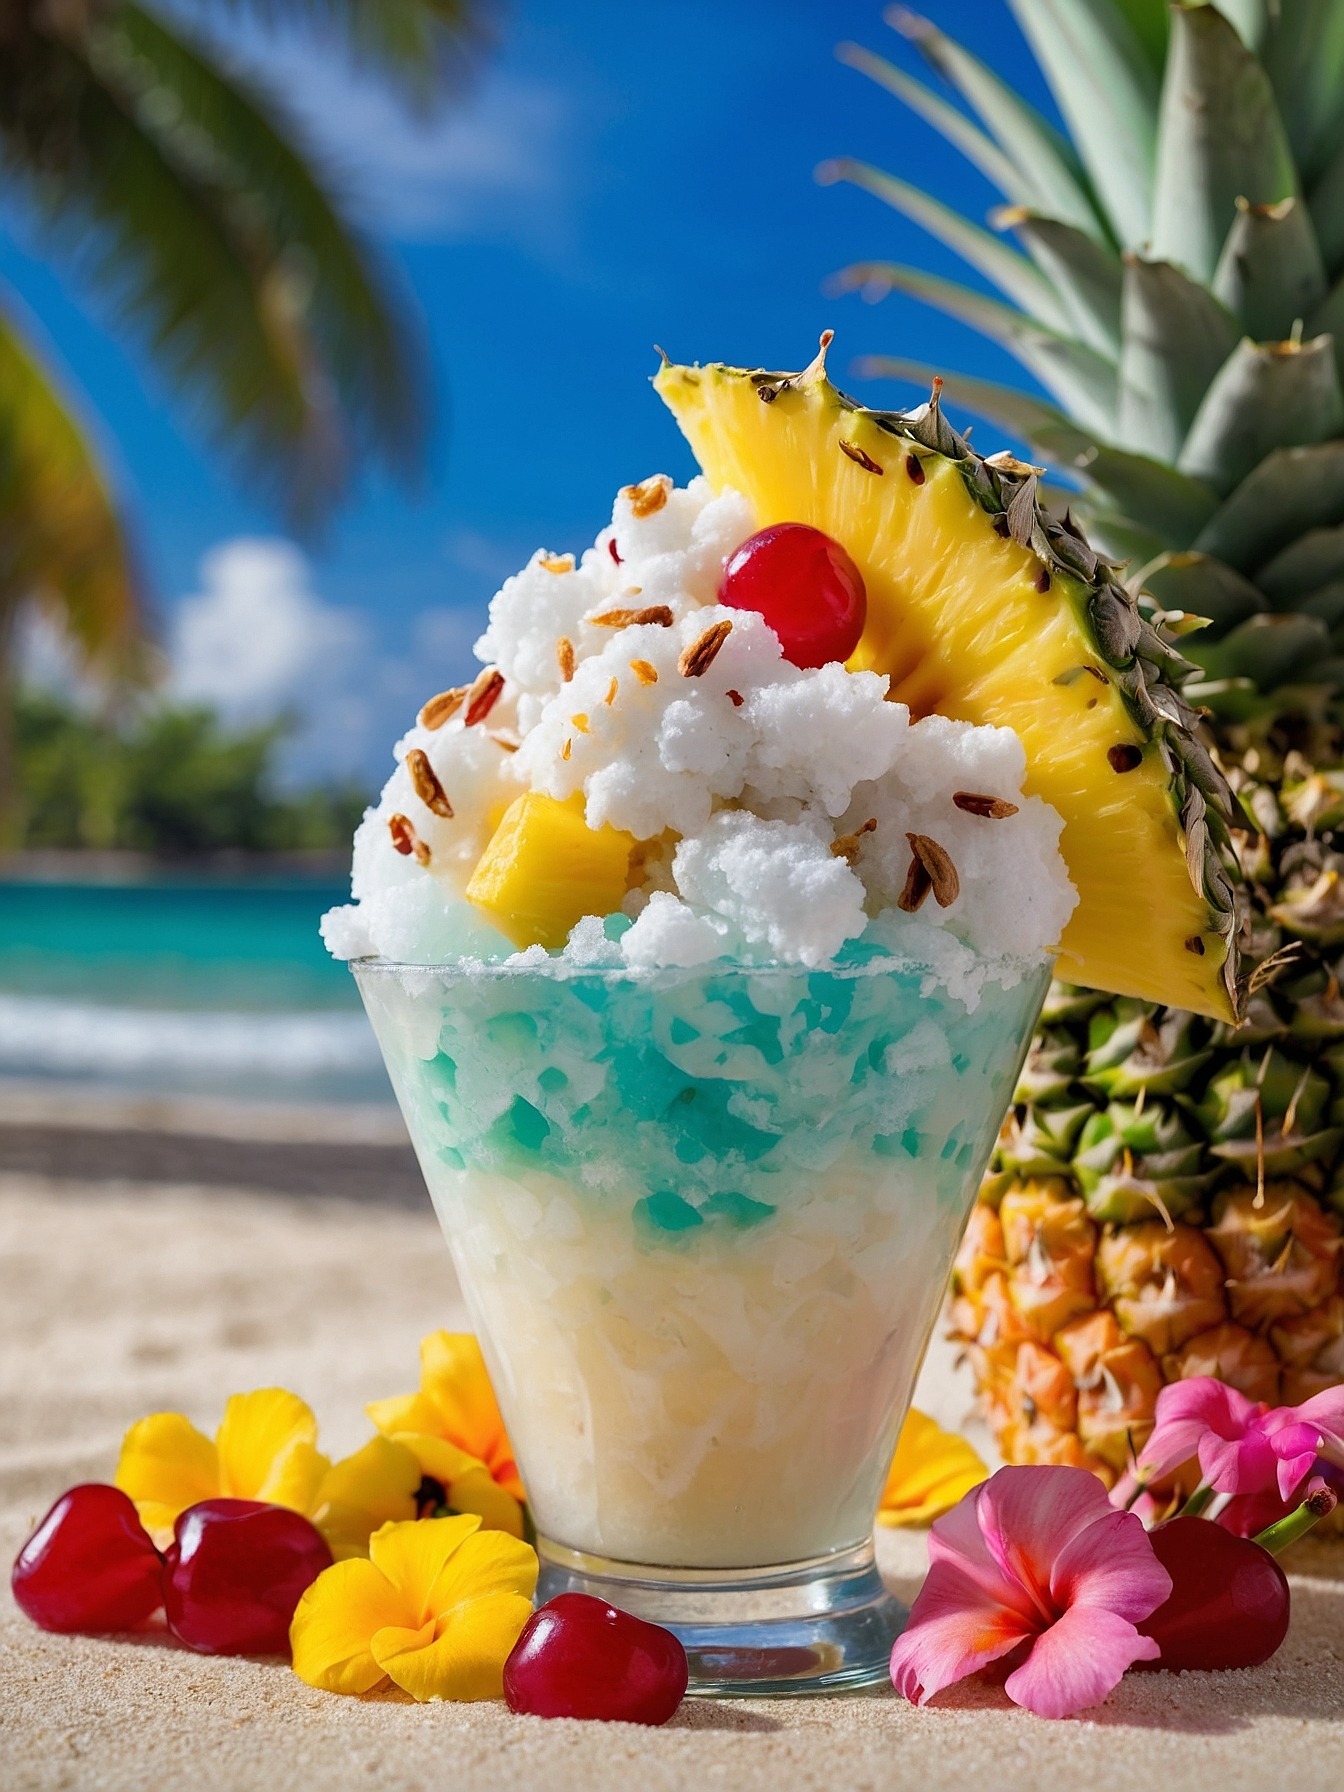
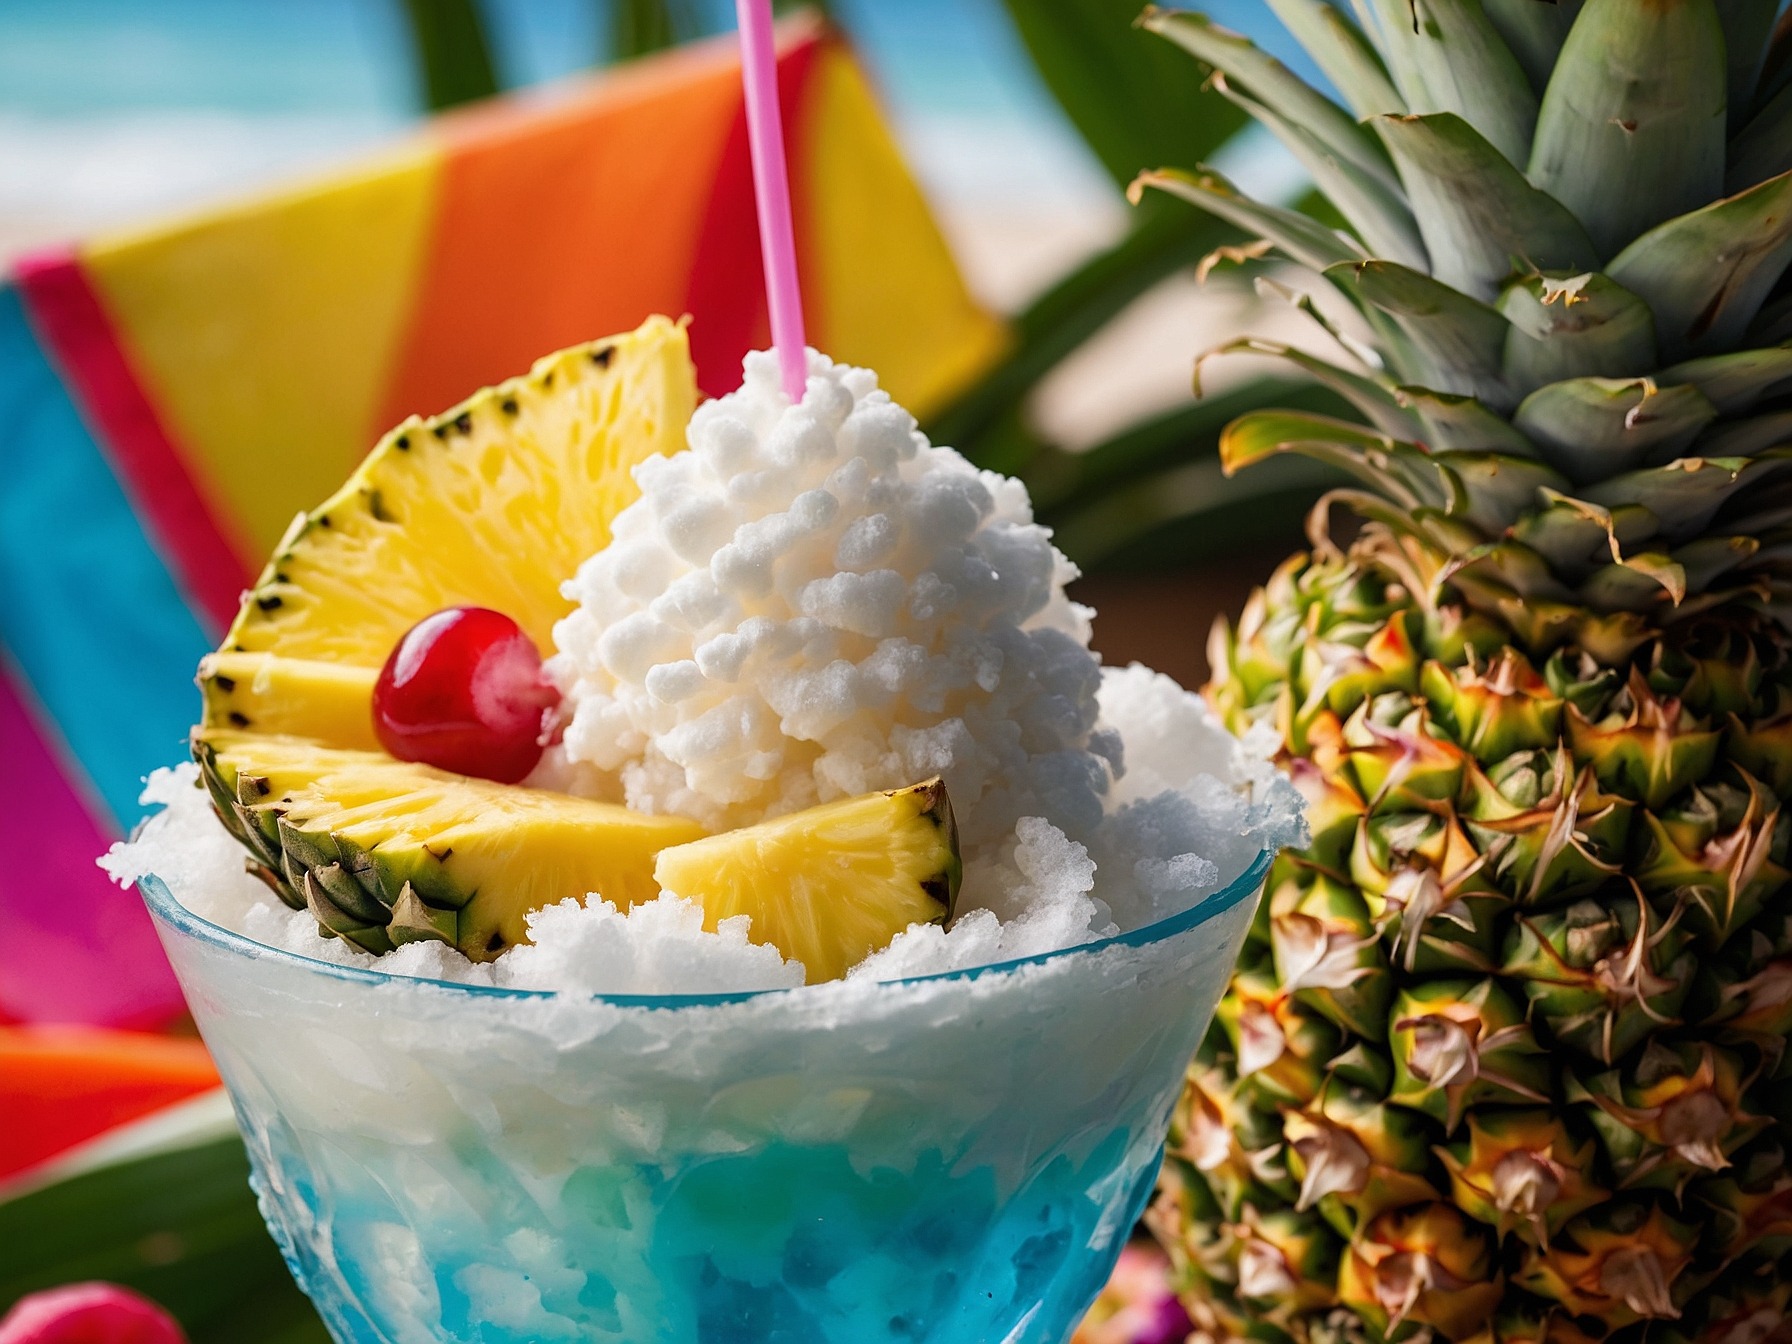
- Garnish (Optional): For an extra touch of tropical flair, garnish your Piña Colada Snow Cone with a small pineapple wedge, a maraschino cherry, and a sprinkle of toasted coconut flakes.
- Serve Immediately: The best part! Dig in and enjoy your refreshing Piña Colada Snow Cone right away before the ice melts.
Tips for the Perfect Consistency:
- Finely Shaved Ice is Key: The finer the ice, the better the syrup will absorb, giving you a more flavorful and less chunky snow cone.
- Don’t Overdo the Syrup: While you want it flavorful, too much syrup can make your snow cone soggy. Start with a moderate amount and add more if needed.
- Layering (Optional): The combination of shaved ice layers becomes more potent when you add a small amount of syrup between each layer.
Delicious Variations to Try
After learning the basic Piña Colada Snow Cone recipe, move forward to try some exhilarating variations. The following suggestions will give your sense of taste a delightful experience:
- Alcoholic Piña Colada Snow Cone: For an adult-friendly treat, add a shot of white rum or vodka to your pineapple-coconut mixture. Adjust the other liquid amounts as needed to maintain consistency.
- Kid-Friendly Piña Colada Snow Cone: Keep it alcohol-free but make it extra fun with colorful sprinkles, gummy bears, or a drizzle of chocolate syrup.
- Creamy Piña Colada Snow Cone: For an even creamier texture, add a tablespoon of condensed milk or a scoop of vanilla ice cream to your pineapple-coconut mixture before drizzling it over the ice.
How to Make Your Own Piña Colada Snow Cone Syrup
Want to take your Piña Colada Snow Cones to the next level? Making your own syrup from scratch is easier than you might think and allows you to control the sweetness and flavor intensity.
Ingredients:
- 1 cup Pineapple Juice
- ½ cup Coconut Cream
- ½ cup Granulated Sugar
- 1 tablespoon Lime Juice (optional, for a little extra zing)
Step-by-Step Guide:
- Combine Ingredients: In a saucepan, combine the pineapple juice, coconut cream, and sugar. If using, add the lime juice.
- Heat and Dissolve: Place the saucepan over medium heat and stir continuously until the sugar is completely dissolved. Bring the mixture to a gentle simmer.
- Simmer and Thicken: Reduce the heat to low and let the syrup simmer gently for about 5-10 minutes, or until it slightly thickens. Be careful not to boil it vigorously.
- Cool Completely: Remove the saucepan from the heat and let the syrup cool completely. As it cools, it will thicken further.
- Store: Once cooled, pour the syrup into an airtight container and store it in the refrigerator. Homemade syrup will last for about a week.
Expert Tips for the Best Piña Colada Snow Cone
- Chill Everything: Make sure all your liquids and even your snow cone cups are chilled. This helps the snow cone stay frozen longer.
- Use Quality Ingredients: The better the quality of your pineapple juice and coconut cream, the tastier your snow cone will be.
- Serve Immediately: Snow cones are best enjoyed right away. Have all your ingredients and equipment ready before you start shaving the ice.
- Presentation Matters: Get creative with your presentation! Use fun cups, colorful straws, and attractive garnishes to make your Piña Colada Snow Cones even more appealing.
Fun and Flavorful Toppings
Take your Piña Colada Snow Cone to the next level with some fun and flavorful toppings:
- Toasted Coconut Flakes: Adds a crunchy texture and enhances the coconut flavor.
- Maraschino Cherries: A classic snow cone topping that adds a pop of color and sweetness.
- Pineapple Wedges or Chunks: Reinforces the pineapple flavor and looks great.
- Whipped Cream: Adds a creamy, decadent touch (consider using dairy-free whipped cream for a vegan option).
- Shredded Coconut: Another way to boost the coconut flavor and add texture.
- A Drizzle of Caramel or White Chocolate: For an extra touch of sweetness and indulgence.
Choosing the Right Ice for Your Snow Cone
The type of ice you use can significantly impact the texture and overall enjoyment of your snow cone. Here’s a quick rundown:
- Machine-Shaved Ice: Snow cones receive their superior freezing quality from this particular machine type. The dense but not dense ice crystals produced by this machine result in flawless syrup integration . Investing in professional snow cone equipment becomes justified when maintaining a workplace interest in preparing snow cones.
- Blender-Crushed Ice: Blenders produce icicles with acceptable snow cone texture but they do not reach the quality of machine-shaved ice. Processing the ice in small portions using pulses will yield slush-free results.
- Crushed Ice from the Freezer: This type of ice tends to be chunkier and less absorbent, but it can work in a pinch. You might need to use a bit more syrup to get the desired flavor.
Piña Colada Snow Cones vs. Other Tropical Treats
- Slushies: Slushies are typically made with blended ice and flavored syrups, resulting in a thicker, more liquid consistency compared to the light and fluffy texture of a snow cone.
- Shaved Ice (Hawaiian Shave Ice): Similar to snow cones, but Hawaiian shave ice is often considered to have an even finer, more delicate texture, and the syrups are often more concentrated.
- Italian Ice: Italian ice is a frozen dessert made from water, sugar, and flavorings, often with a slightly granular texture. It doesn’t typically involve shaved ice.
Piña Colada Snow Cones stand out for their focus on the specific tropical flavors of pineapple and coconut in a light and refreshing shaved ice format.

Frequently Asked Questions (FAQs)
Can I make a large batch of the syrup for a party?
Absolutely! Simply scale up the recipe for the syrup according to the number of servings you need.
What’s the best way to store leftover snow cone syrup?
Homemade syrup should be stored in an airtight container in the refrigerator for up to a week.
Can I use frozen pineapple instead of pineapple juice?
Yes, you can blend frozen pineapple with a little coconut cream and sweetener to create a thicker, more intensely flavored syrup. You might need to add a splash of water to help it blend smoothly.
Can I make Piña Colada Snow Cones ahead of time?
While it’s best to enjoy them immediately, you can prepare the syrup ahead of time and store it in the refrigerator. The shaved ice is best made right before serving.
Do I need a special snow cone machine?
While a snow cone machine makes the process easier and yields the best texture, you can definitely make Piña Colada Snow Cones using a blender to crush the ice.
Conclusion
The following guide presents all the necessary information to make delicious Piña Colada Snow Cones. The guide now provides the basic recipe followed by creative modifications, clear instructions to create homemade syrup, professional recommendations, and creative topping suggestions to make your perfect homemade tropical treat. Get your ingredients and prepare for the amazing flavors of a Piña Colada in its icy snow cone form, no matter what you are seeking, relaxation, impressing guests, or taste-pursuing. Additional creative ideas and broadened knowledge about your Piña Colada Snow Cone can be found on the supporting content pages. Happy snow cone making!
If you tried this pina colada snow cone recipe and loved it as much as we did, share it on Pinterest! Tag @joymelife in your pins so we can see your creations. We can’t wait to see those gorgeous tropical treats on our feeds.

Pina Colada Snow Cone
Equipment
- Snow cone machine or blender
- snow cone cups or cones
- whisk, small bowl or pitcher
- Saucepan (if making homemade syrup).
Ingredients
Homemade Piña Colada Snow Cone
- 1 cup Pineapple Juice chilled
- ½ cup Coconut Cream chilled
- 2-3 tablespoons Sweetener simple syrup, agave nectar, or sugar dissolved in a little warm water, adjust to your taste
- Shaved Ice as much as you need!
Homemade Piña Colada Snow Cone Syrup
- 1 cup Pineapple Juice
- ½ cup Coconut Cream
- ½ cup Granulated Sugar
- 1 tablespoon Lime Juice optional
Instructions
Homemade Piña Colada Snow Cones
- In a small bowl or pitcher, whisk together the chilled pineapple juice, coconut cream, and sweetener.
- Start with 2 tablespoons of sweetener and taste, adding more if desired.
- Shave ice using a snow cone machine or blender until you have a fine, snowy consistency.
- Pack the shaved ice into snow cone cups or cones, creating a rounded top.
- Slowly drizzle the pineapple-coconut mixture over the packed ice,
- allowing it to soak down. Add more syrup as needed.
- Serve immediately.
- Optional Garnish: Pineapple wedges, maraschino cherries, toasted coconut flakes.
Homemade Piña Colada Snow Cone Syrup
- In a saucepan, combine the pineapple juice, coconut cream, and sugar.
- If using, add the lime juice.Place the saucepan over medium heat and stir continuously until the sugar is completely dissolved.
- Bring the mixture to a gentle simmer.Reduce the heat to low and let the syrup simmer gently for about 5-10 minutes, or until it slightly thickens
- Remove the saucepan from the heat and let the syrup cool completely.
- Once cooled, pour the syrup into an airtight container.
If you loved this tropical pina colada snow cone recipe, be sure to also try our Tropical Twist: Mango Lemonade Recipe for another refreshingly fruity frozen treat!