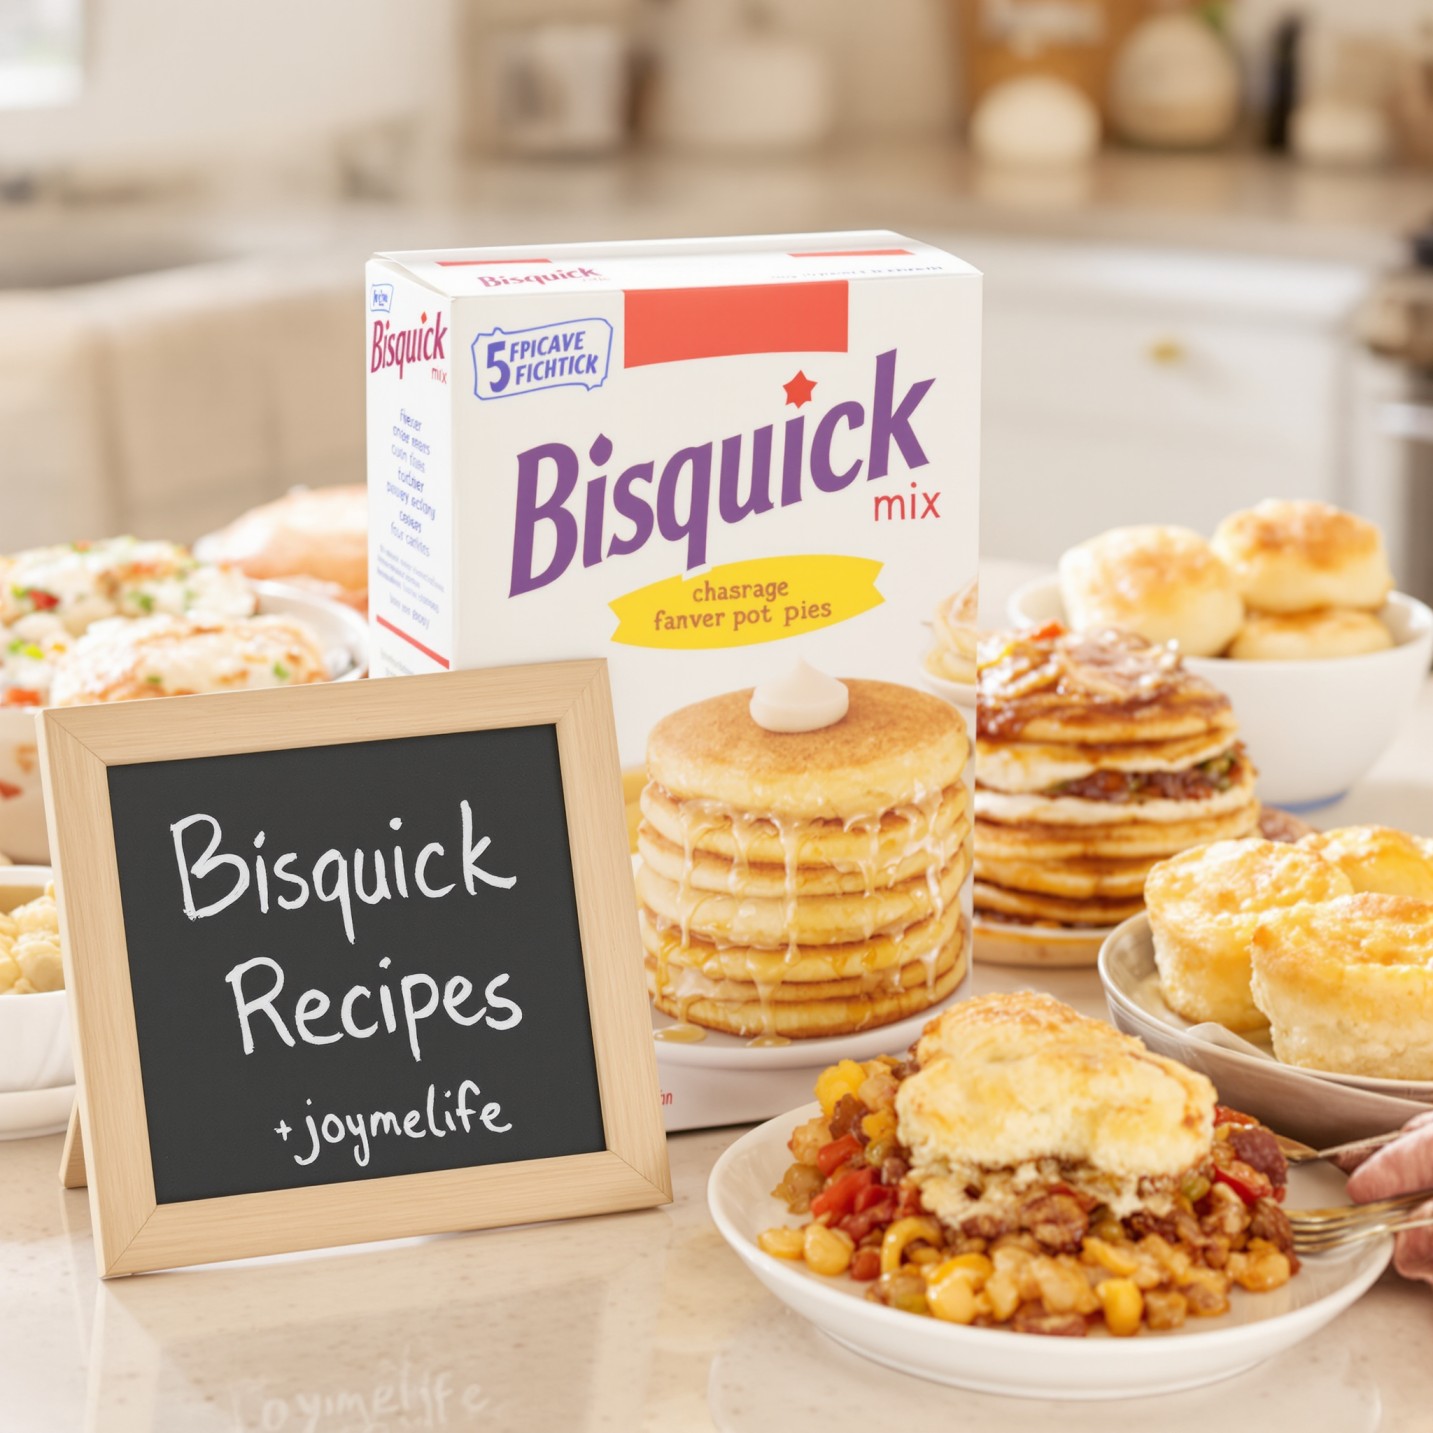

The Ultimate Guide to Easy Bisquick Recipes
In the landscape of American cooking, few products are as iconic as the yellow box of Bisquick. For generations, it has been a fixture in pantries, representing a promise of warm, comforting food without the fuss. It’s the starting point for lazy Saturday morning pancakes, the shortcut to flaky biscuits with dinner, and the secret to a weeknight pot pie that tastes like it took hours.
But to treat it as just a “shortcut” is to sell it short. Bisquick is a brilliantly designed baking foundation. Understanding how and why it works is the key to transforming good results into great ones. This guide is dedicated to that mastery. We will delve into the science of a perfect pancake, explore the versatility of its savory applications, and equip you with the precise techniques to ensure flawless Bisquick recipes every time. For more culinary building blocks, feel free to explore our homepage.
The Yellow Box of Magic: A Foundation of American Cooking
Bisquick’s longevity is a testament to its ingenuity. Born in the 1930s from an idea sparked on a train dining car, its core concept was to make fresh-baked goods accessible and fast for everyone.
What, Precisely, Is in the Box?
The brilliance of Bisquick lies in its pre-blended, shelf-stable formula. The key components are flour, salt, a sophisticated leavening system (a form of double-acting baking powder), and fat (hydrogenated oil). By having the fat already “cut in” to the dry ingredients—a process that evenly distributes the fat in small, flour-coated particles—it provides a consistent base for tender baked goods. When liquid is added, these fat pockets melt, creating steam and separating the gluten strands, which results in flakiness and tenderness.
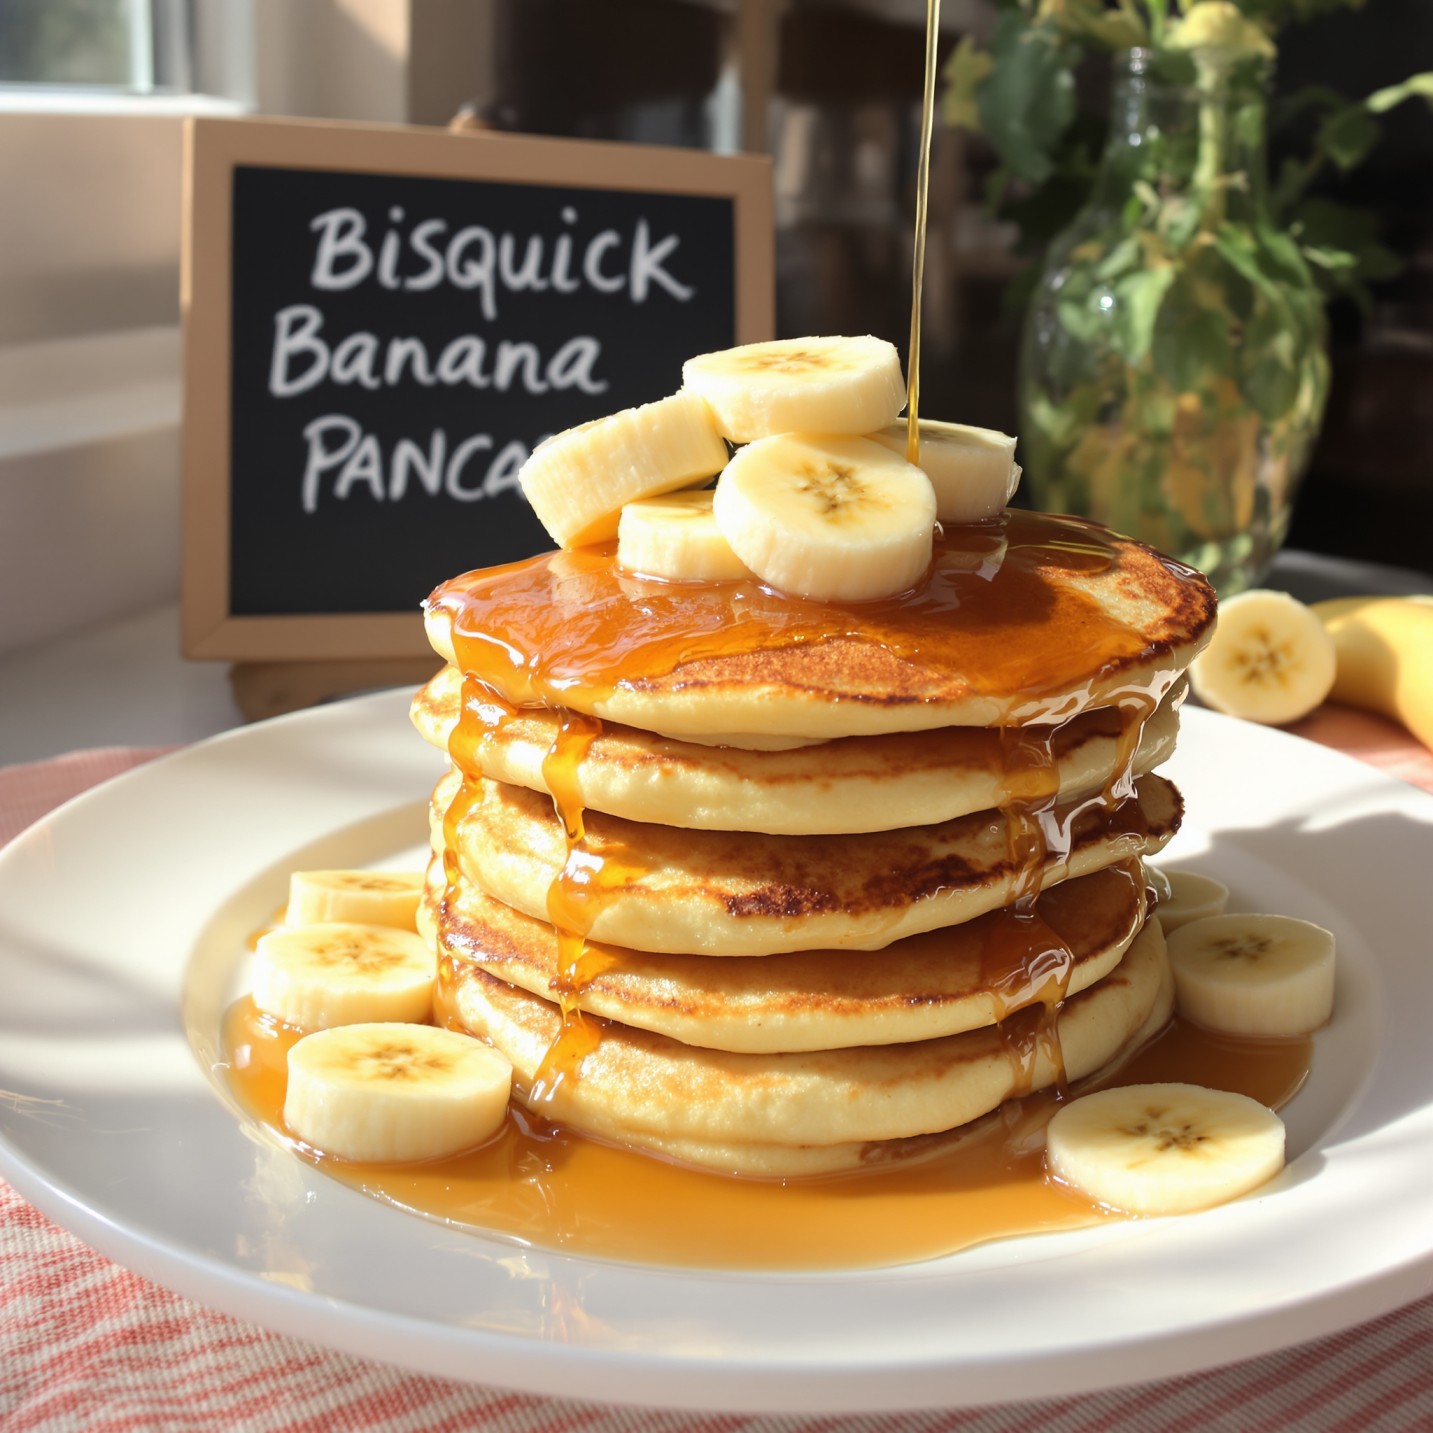
The Main Event: Achieving Flawless Bisquick Pancakes
Making pancakes is easy. Making flawless pancakes is an art form rooted in simple science. Let’s break down the technique for a perfect batch, every single time.
The Science of the Batter: Why Lumps Are Your Friend
This is the most critical lesson in the Bisquick curriculum. When you combine the mix, milk, and eggs, your sole objective is to mix as little as possible.
When water (from the milk) meets the flour, proteins called glutenin and gliadin begin to link together, forming gluten. The more you stir, the longer and tougher these gluten strands become. While this is desirable for chewy bread, it is the enemy of a tender pancake.
Therefore, stir the batter only until the dry ingredients are just moistened. The batter will, and should, look lumpy and unrefined. Resist every instinct to mix it smooth. These lumps are a sign that the gluten has not been overworked. Then, let the batter rest for 5 minutes. This allows the flour to fully hydrate and, importantly, lets the gluten strands relax, ensuring an exceptionally tender crumb.
The Art of the Griddle: Temperature, Time, and Technique
A properly heated cooking surface is non-negotiable. Preheat your griddle or non-stick skillet over medium-high heat. If the pan is too cool, the pancake will spread too much and absorb oil, becoming flat and greasy. If it’s too hot, the exterior will burn before the inside is cooked.
The Professional Temperature Test: Flick a few drops of water onto the surface. If they sizzle, dance, and evaporate within a few seconds, the temperature is perfect. This ideal heat level cooks the pancake efficiently and creates a beautiful golden crust through a process called the Maillard reaction, a chemical reaction between amino acids and sugars that creates deep, savory flavor.
The Perfect Flip: A Test of Patience
Use a 1/4 cup measure to pour batter onto the hot griddle. Now, watch for the visual cues. As the leavening agent reacts with the heat, it will produce bubbles of carbon dioxide. You will see these bubbles rise to the surface.
Do not flip yet. Wait for those bubbles to not just appear, but to pop and leave small, open holes on the surface that do not immediately fill back in. This is your foolproof signal that the internal structure is set and ready for the flip. Use a thin spatula to flip the pancake cleanly and only once. Cooking the second side will be faster, typically requiring another 60-90 seconds.
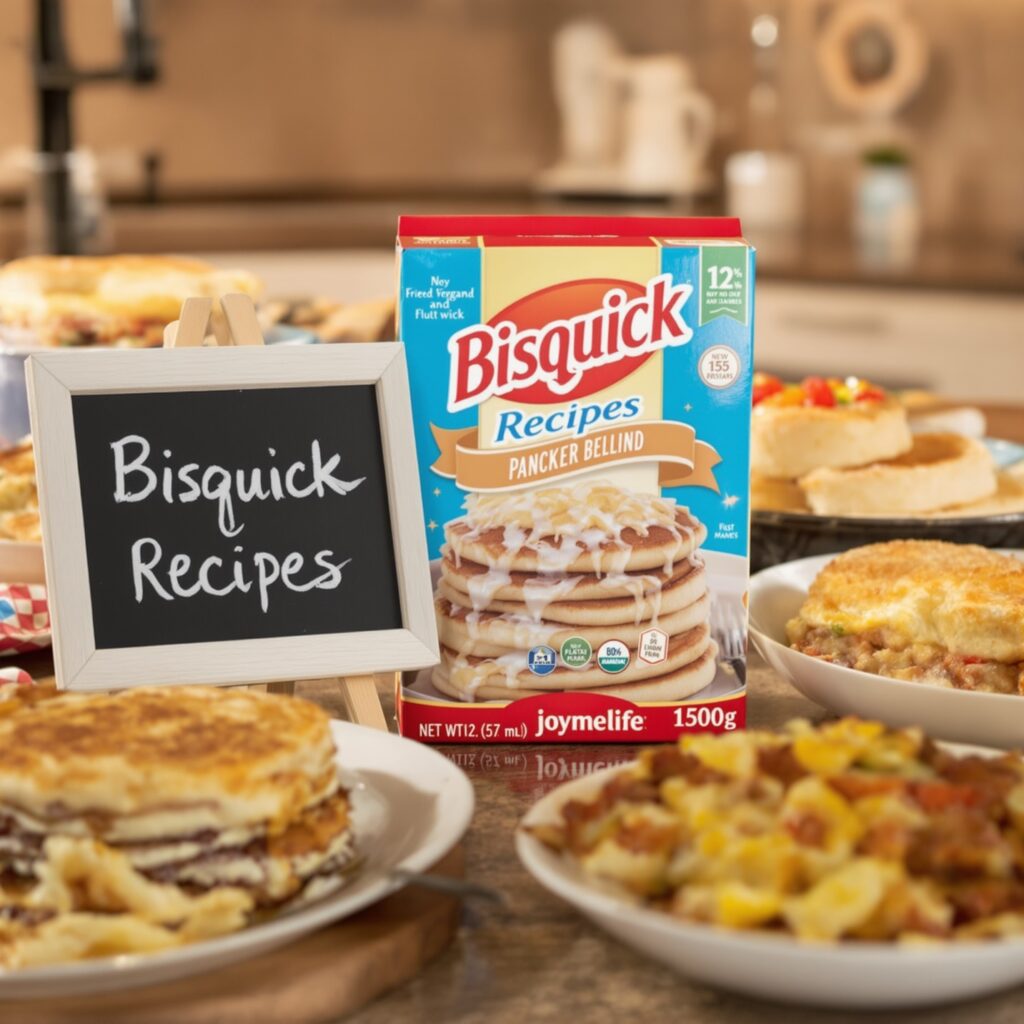
Beyond Breakfast: Mastering Savory Bisquick Recipes
Bisquick’s utility extends far beyond pancakes. It’s a robust foundation for a host of savory dishes.
Classic Comfort: Truly Flaky Bisquick Biscuits
For biscuits with distinct, flaky layers, handle the dough as little as possible. After mixing, gently knead the dough on a floured surface 8-10 times. This brief kneading creates just enough gluten structure to form layers without making the biscuits tough. For an extra crisp bottom, bake them on a preheated baking sheet.
Weeknight Wonder: The “Impossible” Cheeseburger Pie Explained
This classic recipe seems like magic, but it’s simple physics. When you pour the liquid Bisquick batter over the heavier meat and cheese, the ingredients naturally stratify during baking. As the pie heats in the oven, the heavier egg and liquid components sink, while the lighter flour solids bake into a tender, unified crust at the bottom and around the edges.
Hearty & Homestyle: No-Fail Chicken and Dumplings
The secret to light, fluffy dumplings—as opposed to dense, gummy ones—is steam. After dropping the soft dough into your simmering soup base (a gentle simmer, not a rolling boil), cover the pot with a tight-fitting lid and do not lift it for a full 10 minutes. This traps the steam, allowing the dumplings to puff up and cook through evenly. Then, remove the lid and simmer for another 5-10 minutes. This second, uncovered phase allows the surface of the dumplings to dry slightly, giving them the perfect texture.
Sweet Treats & Easy Desserts: Bisquick’s Baking Prowess
Bisquick is an excellent, reliable base for simple yet impressive desserts.
Quick & Craveable: Bakery-Style Strawberry Shortcakes
To create a shortcake with a tender, scone-like crumb, use cold milk and work quickly. After patting out the dough, use a sharp biscuit cutter and press straight down without twisting. Twisting the cutter can seal the edges of the biscuit, preventing it from rising to its full potential.
Foolproof Cinnamon-Streusel Coffee Cake
The key to a distinct, crumbly streusel topping is using cold, firm butter. Cut the butter into the dry streusel ingredients using a pastry blender or your fingertips until the mixture resembles coarse, pea-sized crumbs. This ensures the butter melts slowly in the oven, creating a crunchy, delicious topping rather than a greasy layer.
The DIY Bisquick Mix: A Guide to Making Your Own
For those who prefer to control every ingredient, a homemade baking mix is an excellent project.
The Benefits of a Homemade Mix
Making your own allows you to use high-quality, unsalted butter, choose your preferred flour (such as organic all-purpose or even a blend with whole wheat), and precisely control the sodium content.
The Precise Homemade Bisquick Formula
In a large bowl, whisk together 6 cups of all-purpose flour, 3 tablespoons of baking powder, and 1 tablespoon of salt. Using a pastry blender, “cut in” 1 cup of cold, cubed unsalted butter or solid vegetable shortening until the mixture resembles coarse crumbs with some pea-sized pieces remaining.
Crucial Storage Note: Because this mix contains real fat without commercial preservatives, it must be stored in an airtight container in the refrigerator (for up to 3 months) to prevent the fat from spoiling.
Fundamental Pro-Tips for Guaranteed Bisquick Success
The Golden Rule: How to Properly Measure Your Mix
This is a fundamental baking skill that ensures correctness. Never scoop the mix directly with your measuring cup. This compacts it, resulting in up to 25% too much mix, which leads to dry, tough baked goods. Instead, use the “Spoon and Level” method:
- Fluff the mix in its container with a spoon.
- Gently spoon the mix into your measuring cup until it overflows.
- Use the straight edge of a knife to level the mix flat across the top of the cup.
Customizing Your Recipes with Confidence
Once you understand the basics, feel free to customize.
- Pancakes: Add 1 tsp vanilla extract for warmth or 1/2 tsp cinnamon for spice.
- Biscuits: Add 1 cup of sharp shredded cheddar and 1/4 cup of chopped chives for a savory version.
- Waffles: Most Bisquick pancake recipes can be converted to waffles by adding 2 tablespoons of melted butter or oil to the batter for a crispier result.
The Complete Recipe & Technical Guides
Here is all the practical information you need in one place, formatted for both easy home use and for search engine understanding.

Your Questions, Answered: The Bisquick FAQ
1. What is the actual difference between Bisquick and pancake mix?
Bisquick is a versatile, all-purpose baking mix with a lower sugar content, formulated for biscuits, crusts, and pancakes. Standard pancake mix is specifically formulated for pancakes, usually containing more sugar and often powdered eggs, making it less suitable for savory dishes.
2. Is using milk really better than water?
Yes. Milk adds fat, protein, and sugar (lactose), which contribute to a richer flavor, a more tender crumb, and better browning. Water will work, but milk is a significant upgrade.
3. How can I tell if my Bisquick has gone bad?
There are two failure points. First, the leavening agents lose their potency over time (check the expiration date), leading to flat results. Second, the fat can go rancid. If the mix has a stale, sour, or crayon-like smell, it has spoiled and should be discarded.
4. How should I properly store an open box of Bisquick?
For maximum freshness, fold the inner bag over, clip it securely, and store the box in a cool, dry pantry. If you live in a very humid climate or want to extend its life, storing it in an airtight container in the refrigerator or freezer is an excellent option.
Conclusion: Your Enduring Kitchen Companion
Bisquick is more than a product; it’s a reliable culinary tool. By understanding the simple science behind it—the importance of minimal mixing, the role of temperature, the visual cues for doneness—you move from simply following a recipe to truly mastering it. We hope this guide has equipped you with the knowledge and confidence to make that iconic yellow box a source of consistently delicious and impressive meals in your home.
We invite you to share your own experiences. What is the beloved Bisquick recipe that has been passed down in your family? What’s your favorite customization? Share your thoughts in the comments below!