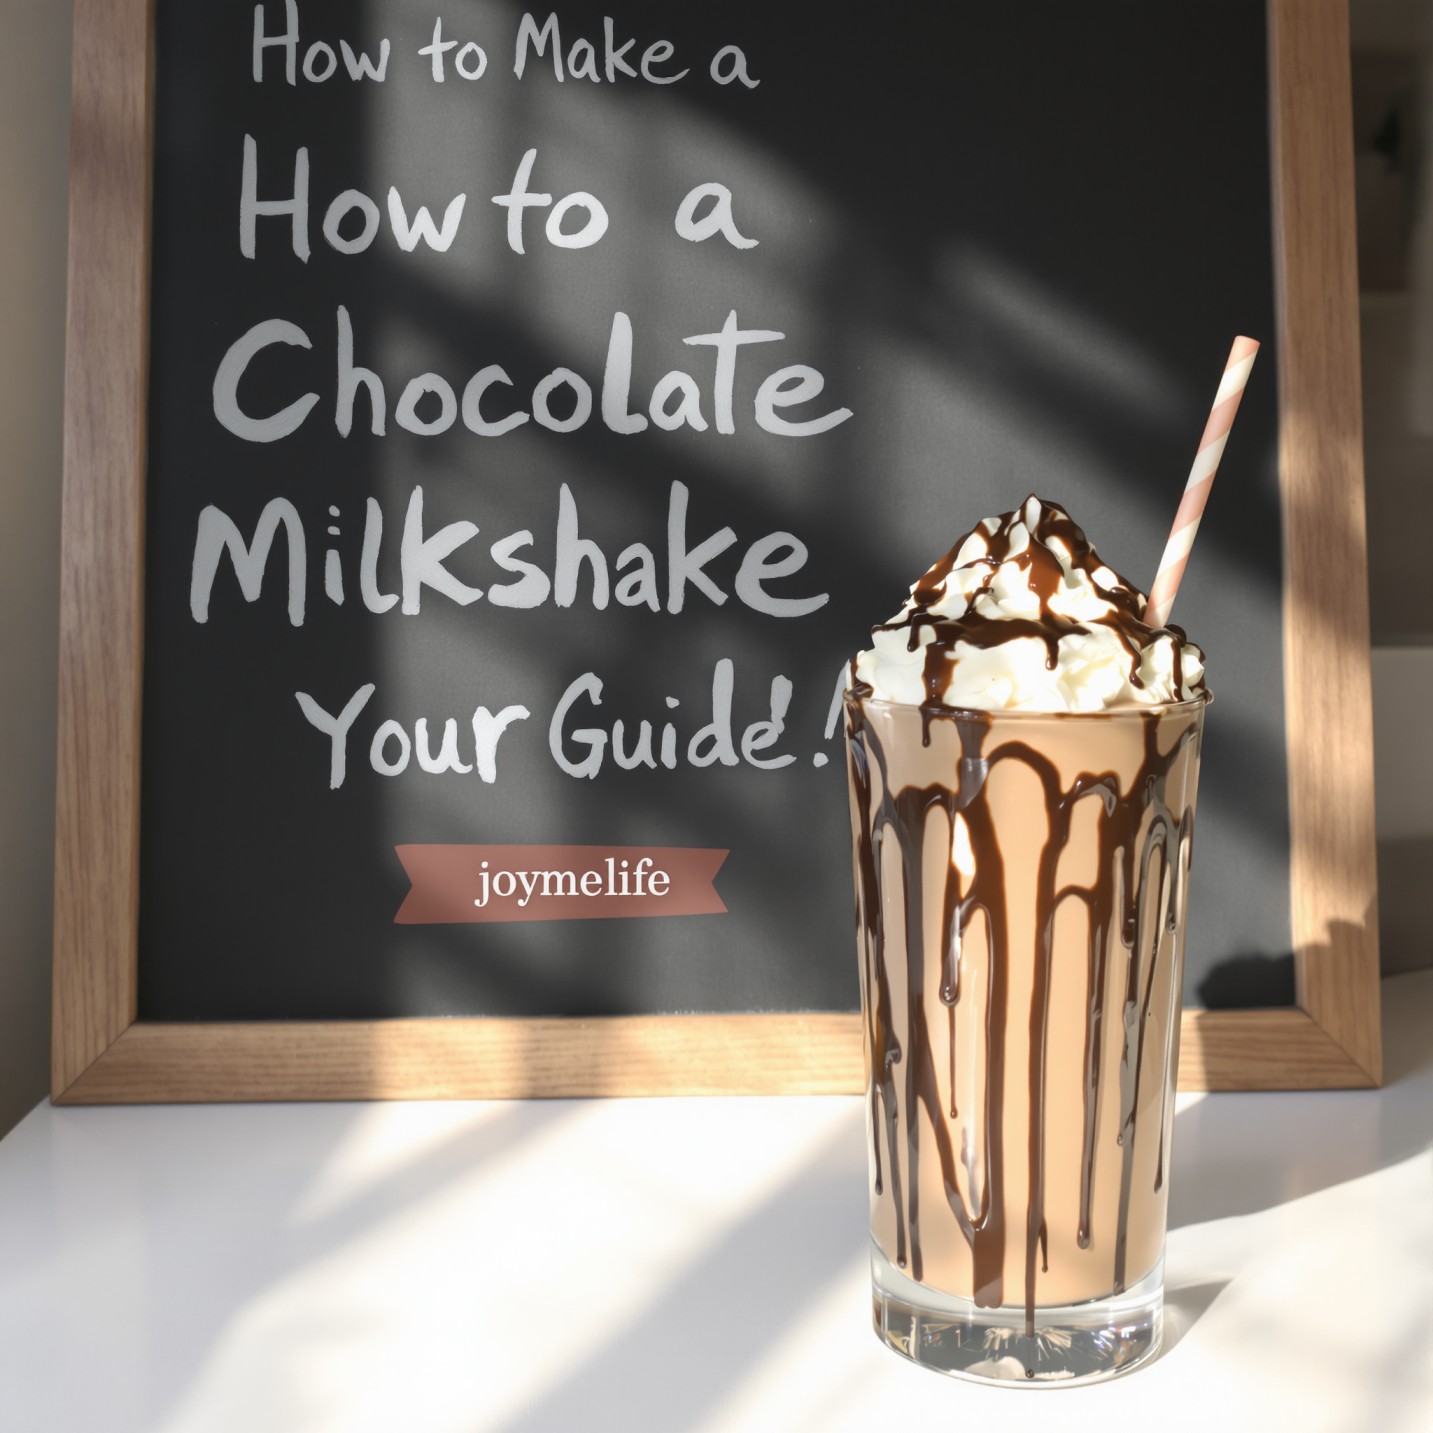
How to Make the Perfect Chocolate Milkshake: A Problem-Solving Guide for a Flawless Treat

Hello, classic treat enthusiasts and aspiring home-cafe champions! There are few things in life as simple and purely joyful as a thick, creamy, perfectly chilled chocolate milkshake. It’s a taste of nostalgia, a celebratory dessert, and the ultimate comfort drink all rolled into one. But as many of us have discovered, recreating that perfect diner-style milkshake at home can sometimes lead to frustration. If you’ve ever wondered how to make a chocolate milkshake that isn’t a soupy, bland, or chunky disappointment, you’ve come to the right place. We’re so glad you’re here, and for more simple joys and problem-solving guides, we invite you to explore the great content at joymelife.
This isn’t just another recipe. This is your ultimate problem-solving guide. We’re going to tackle every common milkshake mishap head-on, ensuring you have the knowledge and confidence to blend a flawless, delicious chocolate milkshake every single time. As we head into the warm days of late May here in the United States, there’s no better time to master this iconic American refresher.
Why Making a Great Chocolate Milkshake at Home Can Be Tricky (And How We’ll Solve It!)
The chocolate milkshake seems so simple on the surface, yet the path to perfection is fraught with potential pitfalls. Understanding these common issues is the first step to conquering them.
The Promise vs. The Reality: From Creamy Dream to Watery Mess
We all picture that ideal milkshake: thick enough to hold a straw upright, yet smooth enough to sip with ease, bursting with rich chocolate flavor. The reality for many home blenders, however, can be a drink that’s too thin, too icy, not chocolatey enough, or separates into a foamy mess. This guide is dedicated to bridging that gap between your milkshake dreams and your kitchen reality.
The Core Principles We’ll Master Today: Temperature, Texture, and Taste
The secret to a perfect chocolate milkshake boils down to mastering three key elements:
- Temperature: Using ingredients that are properly cold is non-negotiable for that signature frosty thickness.
- Texture: Achieving the right balance between ice cream and milk is crucial for that perfectly thick yet sippable consistency.
- Taste: Layering chocolate flavors ensures a rich, deep taste that stands up to the coldness of the drink.
By focusing on solving these three principles, we’ll ensure your homemade milkshake is a triumph.
The Anatomy of a Classic Milkshake: Just 3 Simple Ingredients
At its heart, a true, classic chocolate milkshake only needs three core components. The quality of each one matters immensely.
The Star Player: Choosing Your Chocolate Ice Cream
This is the foundation of your milkshake’s flavor and texture.
- Quality is Key: Use a good-quality, full-fat chocolate ice cream. Premium ice creams with fewer air whipped into them (denser) will result in a richer, creamier shake.
- Flavor Profile: Choose an ice cream with a chocolate flavor you already love on its own. Whether it’s a deep dark chocolate, a classic milk chocolate, or even a fudge ripple, this will be the dominant taste.
The Supporting Role: The Right Milk for the Job
The milk’s job is to loosen the ice cream just enough to make it drinkable.
- Whole Milk: This is the gold standard for a rich, creamy milkshake. The higher fat content contributes to a better mouthfeel and flavor.
- Other Options: You can use 2% or skim milk, but the result will be less creamy. Plant-based milks like oat milk (very creamy!) or almond milk also work well (more on that in variations).
The Flavor Booster: Chocolate Syrup or Cocoa Powder
To amplify the chocolate flavor and ensure it doesn’t get muted by the cold, a little boost is essential.
- Chocolate Syrup: Adds sweetness and a classic, nostalgic chocolate flavor.
- Unsweetened Cocoa Powder: Adds a deep, intense chocolate flavor without extra sugar, allowing you to control the sweetness yourself.
- Malt Powder (Optional): For a “malted” milkshake, add a couple of tablespoons of malted milk powder for that distinct, slightly savory, toasty flavor.
How to Make a Classic Chocolate Milkshake: Step-by-Step (Homemade recipe)
Let’s start with the foundational “home-made recipe” before we dive into troubleshooting and variations.
The Foundation: The Classic Recipe
- Servings: 1 large or 2 small
- Ingredients:3-4 large scoops of good-quality chocolate ice cream (about 1.5 – 2 cups)
- 1/4 to 1/2 cup whole milk
- 2 tablespoons chocolate syrup OR 1 tablespoon unsweetened cocoa powder
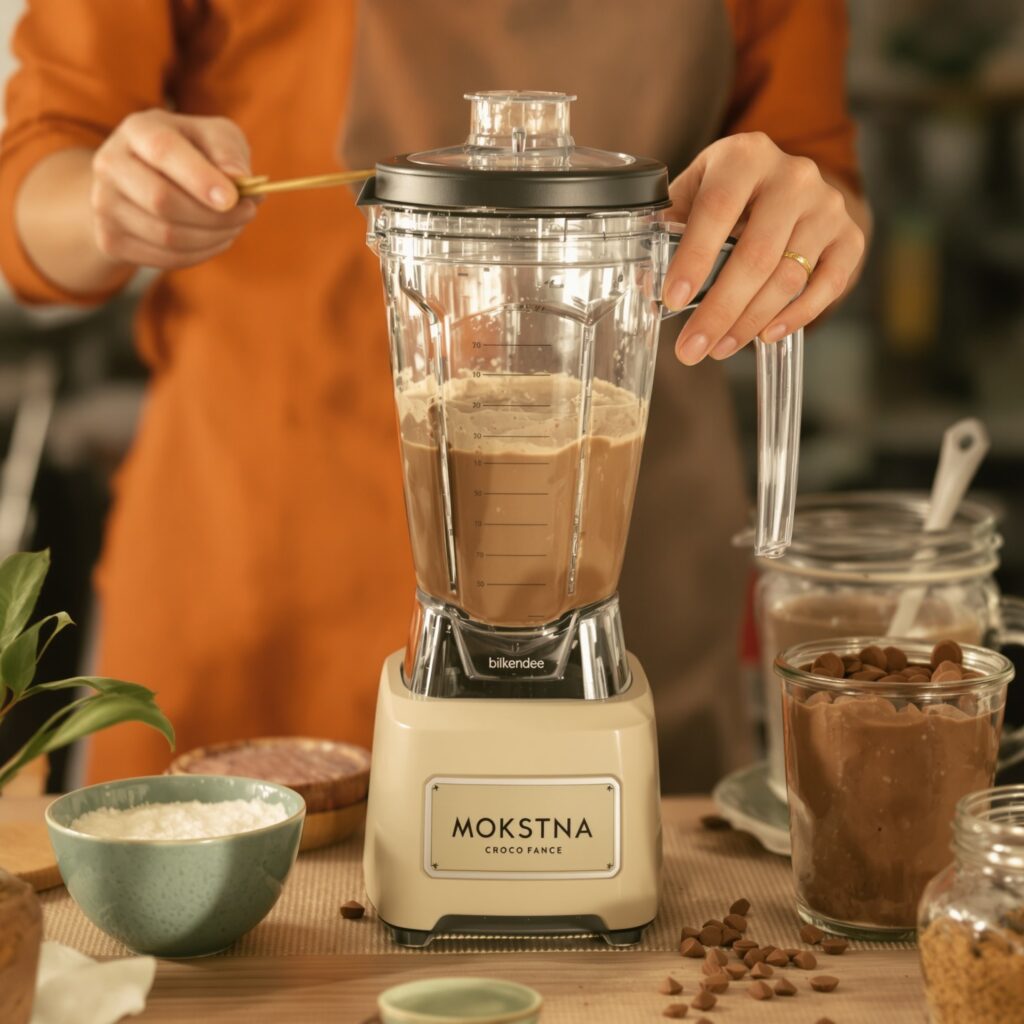
Step-by-Step Blending Instructions for Perfect Consistency
- Chill Your Glass: For an extra frosty shake, place your serving glass in the freezer for 10-15 minutes before you start.
- Soften the Ice Cream (Slightly!): Let your hard ice cream sit on the counter for just 5 minutes before scooping. This makes it easier to blend and prevents the motor from overheating, but it should still be very firm and frozen.
- Add to Blender: Place the scoops of ice cream in your blender.
- Add Syrup/Powder: Drizzle the chocolate syrup or add the cocoa powder over the ice cream.
- Add Milk (Start Small!): Pour in the smaller amount of milk (1/4 cup). This is the most crucial step for controlling thickness. You can always add more, but you can’t take it out.
- Blend: Secure the lid and start blending on a low speed, then quickly increase to high. Blend for just 30-60 seconds, or until the mixture is just combined and smooth. Do not over-blend! Over-blending generates heat and melts the ice cream, resulting in a thin shake.
- Check Consistency: Check the thickness. If it’s too thick to blend, add another tablespoon of milk at a time until it just starts to move freely.
- Serve Immediately: Pour into your chilled glass, top with whipped cream and a cherry if desired, and serve right away with a straw.
Expert Tips and Tricks: Your Milkshake Problem-Solving Guide
This is the heart of our mission: solving the most common milkshake-making frustrations.
Problem: “My milkshake is too thin and watery!”
This is the most frequent complaint. Here’s how to fix and prevent it:
- Solution 1: Use Less Milk. Always start with a minimal amount of milk (e.g., 1/4 cup for 3-4 scoops of ice cream). It should look like it’s not enough – that’s the right amount to start with.
- Solution 2: Don’t Over-Blend. Blending for too long melts the ice cream. A quick, powerful blitz is all you need.
- Solution 3: Use Hard Ice Cream. Before blending, don’t let your ice cream get too soft. It should be firm and fully frozen.
- Solution 4: Add a Thickener. A tablespoon or two of malted milk powder not only adds flavor but also helps thicken the shake. A small amount of frozen banana can also thicken it up (though it will add banana flavor).
Problem: “My milkshake is too thick to sip through a straw!”
The opposite problem, but just as frustrating!
- Solution: Add More Milk, Slowly. With the blender running on low (or stopping and starting), add more milk, just one tablespoon at a time, until the milkshake reaches your desired sippable consistency. It’s a delicate balance.
Problem: “It’s just not chocolatey enough!”
Cold temperatures can dull flavors, so you need to amp up the chocolate.
- Solution 1: Use a High-Quality Chocolate Base. Start with a really rich, premium chocolate ice cream.
- Solution 2: Double Down on Chocolate. Add both cocoa powder and chocolate syrup. The cocoa adds deep flavor, and the syrup adds classic sweetness.
- Solution 3: Add Melted Chocolate. For an intensely decadent shake, melt a small amount of good-quality dark or milk chocolate, let it cool slightly, and drizzle it into the blender while it’s running.
Problem: “My milkshake has chunks of ice or unblended bits!”
Smoothness is non-negotiable for a perfect milkshake.
- Solution 1: Let Ice Cream Soften Slightly. As mentioned, letting very hard ice cream sit for 5 minutes makes it easier for the blender blades to work through it smoothly.
- Solution 2: Use a Decent Blender. While you don’t need a top-of-the-line machine, a very weak blender will struggle. If yours is weak, cut the ice cream into smaller chunks before adding it.
- Solution 3: Layer Correctly. Adding the milk first can help create a vortex that pulls the harder ice cream down into the blades more effectively.
Recipe Variations and Possible Substitutions: Solving for Every Kitchen & Diet
Everyone deserves a great chocolate milkshake! Here’s how to make one, no matter what you have on hand or what your dietary needs are.
How to Make a Chocolate Milkshake Without a Blender
No blender? No problem! It takes a bit more effort, but it’s totally possible.
- Method 1: The Jar Shake. Let your ice cream soften a bit more than usual (about 15 minutes). Place it in a large, sturdy jar with a tight-fitting lid. Add your milk and syrup. Seal the lid tightly and shake vigorously for 2-3 minutes until it’s combined and smooth.
- Method 2: Immersion (Stick) Blender. Use an immersion blender in a tall, sturdy cup. This works very well!
- Method 3: Hand Mixer or Whisk. Use a hand mixer or a sturdy whisk and some elbow grease to combine the softened ice cream and milk in a large bowl.
How to Make a Chocolate Milkshake Without Ice Cream
Craving a milkshake but out of ice cream? This healthy-ish version is a great substitute.
- Ingredients: 1 large frozen banana (sliced before freezing), 2-3 tablespoons cocoa powder, 1/2 cup milk, 1 cup of ice, and 1-2 tablespoons of sweetener (like maple syrup or honey).
- Method: Blend all ingredients until smooth. The frozen banana provides the creamy, thick base.
The Healthier Chocolate Milkshake (Guilt-Free Indulgence)
Enjoy the flavor without derailing your health goals.
- Ingredients: 1 frozen banana, 1/2 cup plain Greek yogurt (for creaminess and protein), 2 tablespoons unsweetened cocoa or cacao powder, 1/2 cup unsweetened almond milk, 1-2 pitted Medjool dates (for sweetness).
- Method: Blend until smooth. This version is packed with protein, fiber, and nutrients.
The Ultimate Vegan / Dairy-Free Chocolate Milkshake
- Ingredients: 3-4 large scoops of dairy-free chocolate ice cream (made from almond, coconut, soy, or oat milk), 1/4 – 1/2 cup creamy plant-based milk (oat milk is fantastic for this), 2 tablespoons chocolate syrup (ensure it’s dairy-free).
- Method: Follow the classic recipe steps. The result is just as creamy and delicious!
Serving and Pairing Suggestions: The Fun Part!
Presentation makes your homemade chocolate milkshake feel even more special.
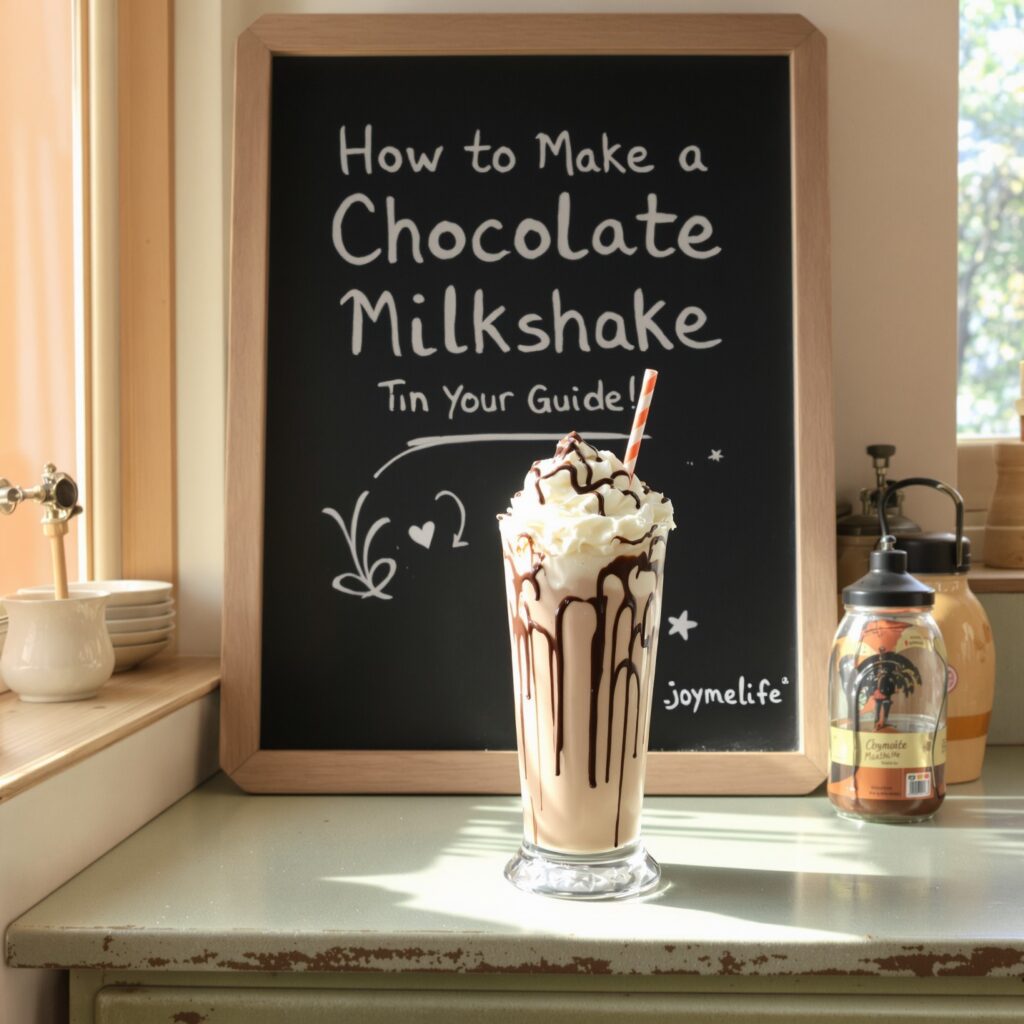
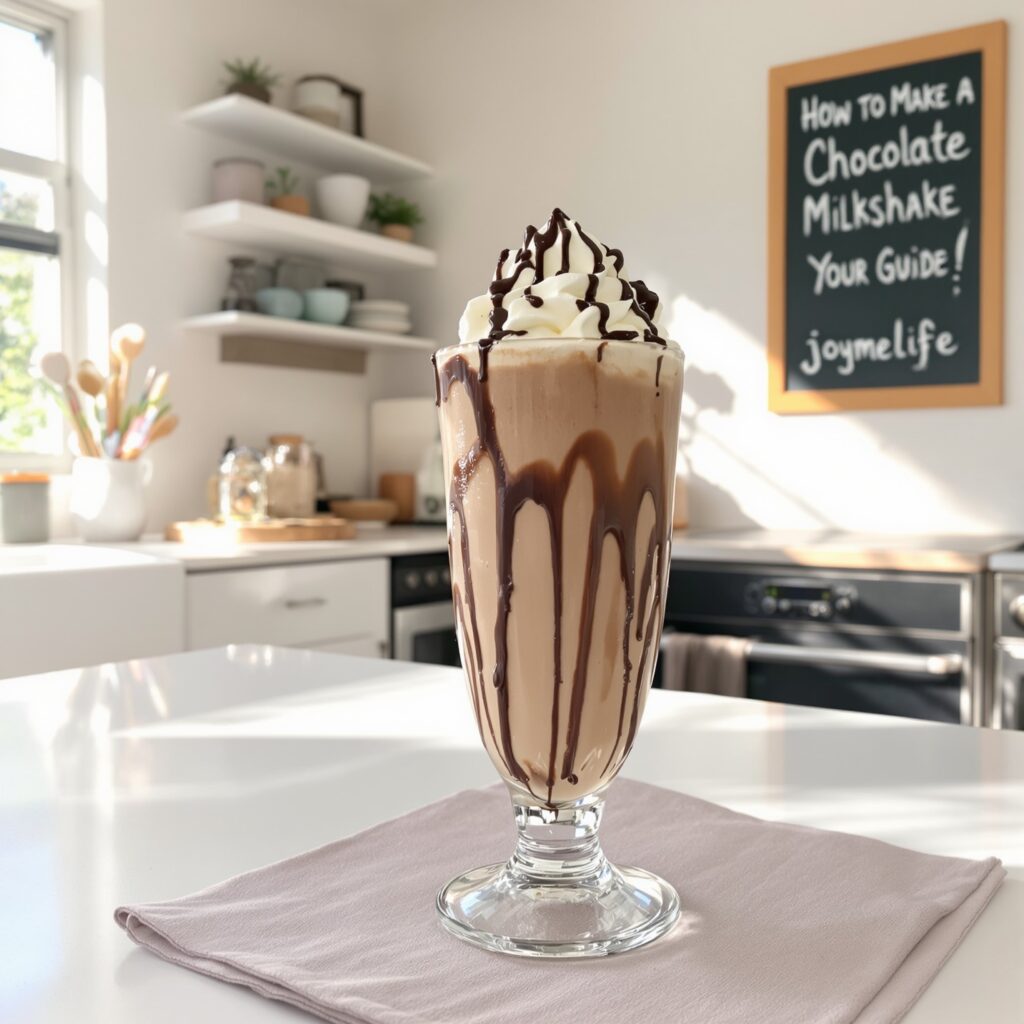
Classic Presentation: The Glass, The Straw, The Toppings
- The Glass: Use a classic tall milkshake glass or a mason jar. Remember to chill it first!
- The Drizzle: Before pouring the milkshake, drizzle some chocolate syrup on the inside of the glass for that classic diner look.
- The Toppings: A generous swirl of whipped cream (dairy or coconut-based), a sprinkle of chocolate shavings or sprinkles, and a maraschino cherry on top are the trifecta of milkshake perfection.
- The Straw: Use a wide, sturdy straw for easy sipping.
What to Pair with Your Perfect Chocolate Milkshake
- Classic American Diner Food: It’s the perfect companion for a burger and salty french fries – the sweet and salty combination is iconic.
- Dessert Pairing: Enjoy it alongside a simple brownie, a chocolate chip cookie, or on its own as the main event.
Storage Tips: Can You Save a Milkshake for Later? (The Honest Answer)
This is a common question, but the answer is, unfortunately, not really. A chocolate milkshake is a fleeting pleasure, best enjoyed immediately. If you store it in the freezer, it will freeze into a solid block of flavored ice cream. If you store it in the fridge, it will melt and separate into a thin, sad puddle. The delicate emulsion of blended ice cream and milk is unstable. Our problem-solving advice here is simple: make single servings and enjoy them fresh!
Recipe Notes (Notes recepie): Key Reminders for Flawless Milkshakes
- Cold is King: Keep all your ingredients as cold as possible. Chill your glass, use firm ice cream, and use cold milk.
- Don’t Drown It: Start with less milk than you think you need. This is the #1 rule for a thick shake.
- Blend Briefly: A quick, powerful blend is all that’s required. Over-blending is the enemy of thickness.
- Taste is Subjective: The “perfect” chocolate milkshake is the one you love. Adjust chocolate intensity, sweetness, and thickness to your personal preference.

Frequently Asked Questions (FAQs): Your Chocolate Milkshake Problems, Solved!
Let’s tackle a few more common questions.
Q1: What’s the best milk-to-ice cream ratio for a milkshake?
A: A great starting ratio is about 1 part milk to 4 parts ice cream by volume. For example, for 2 cups (about 4 large scoops) of ice cream, start with 1/2 cup of milk. For a thinner shake, you might go up to a 1:2 ratio, but starting thick is always the best strategy.
Q2: Can I use vanilla ice cream to make a chocolate milkshake?
A: Absolutely! This is a very common method. If using vanilla ice cream, you’ll need to be more generous with your chocolate flavoring. Use 3-4 tablespoons of chocolate syrup and/or 2-3 tablespoons of cocoa powder to ensure you get a rich chocolate flavor. This method gives you more control over the final chocolate intensity.
Q3: How do I clean my blender after making a sticky milkshake?
A: The easiest way is to rinse it out immediately after pouring your shake. Then, fill it about halfway with warm water, add a drop of dish soap, put the lid on, and blend for 20-30 seconds. The soapy water will clean the blades and jar effortlessly. Just rinse and you’re done!
Q4: Why does my homemade milkshake get so foamy on top?
A: Foam is usually a result of over-blending or using lower-fat milk (like skim milk). Blending on high for too long incorporates a lot of air. A quick blend minimizes foam. Using whole milk, which has more fat, also helps create a creamier, less foamy texture.
Q5: What’s the secret to a “malted” chocolate milkshake?
A: The secret ingredient is malted milk powder (like Ovaltine or Carnation Malted Milk). Simply add 2 to 3 tablespoons of malted milk powder to the classic chocolate milkshake recipe before blending. It adds a delicious toasty, nutty, slightly savory flavor that is uniquely nostalgic and delicious.
Conclusion: You Are Now a Master of the Chocolate Milkshake!
Congratulations! You are now equipped with not just a recipe, but a complete problem-solving guide for mastering the art of the homemade chocolate milkshake. You know the importance of cold ingredients, the secret to the perfect milk-to-ice cream ratio, and how to troubleshoot any issue that comes your way. No more thin, disappointing shakes – only thick, creamy, chocolatey perfection awaits. We hope this guide empowers you to blend with confidence and enjoy this timeless treat whenever the craving strikes. For more guides to life’s simple pleasures, be sure to visit us at https://joymelife.com/.
So go ahead, grab your favorite chocolate ice cream, fire up that blender, and create the milkshake you’ve always dreamed of. You’ve got this!
What are your favorite milkshake-making tips or flavor combinations? Share your successes and questions in the comments below!
Recipe Summary & Details
Description: A classic, foolproof chocolate milkshake recipe with a problem-solving guide to ensure a thick, creamy, and delicious result every time.
- Cuisine: American
- Course: Beverage, Drink, Dessert
- Keyword for SEO: How to make a chocolate milkshake
- Prep Time: 5 minutes
- Servings: 1 large or 2 small
- Calories: Approx. 500-800 (varies greatly with ice cream and toppings)
Equipment:
- Blender
- Ice cream scoop
- Serving glass (chilled, optional)
Ingredients:
- 3-4 large scoops good-quality chocolate ice cream (about 1.5 – 2 cups)
- 1/4 – 1/2 cup whole milk (start with 1/4 cup)
- 2 tbsp chocolate syrup OR 1 tbsp unsweetened cocoa powder (or both)
- Optional: 2-3 tbsp malted milk powder for a “malted” shake.
- Garnish: Whipped cream, chocolate sprinkles, maraschino cherry.
Instructions (Short):
- Let ice cream soften on the counter for 5 minutes.
- Place ice cream, 1/4 cup of milk, and chocolate syrup/cocoa powder in a blender.
- Blend on low then high for only 30-60 seconds, until just smooth. Do not over-blend.
- Check consistency. If too thick, add more milk 1 tablespoon at a time and blend briefly.
- Pour into a chilled glass, garnish as desired, and serve immediately.
Tips for Success:
- Use less milk to start. This is the key to a thick shake.
- Use cold, hard ice cream. Don’t let it get too melty.
- Don’t over-blend. A quick blitz is all you need.
- Chill your glass. It keeps the shake colder for longer.
Remember to check out our other amazing recipes and lifestyle tips at joymelife. Your journey to a joyful life starts here. Thanks for reading!