
Published: 17 Nov 2025
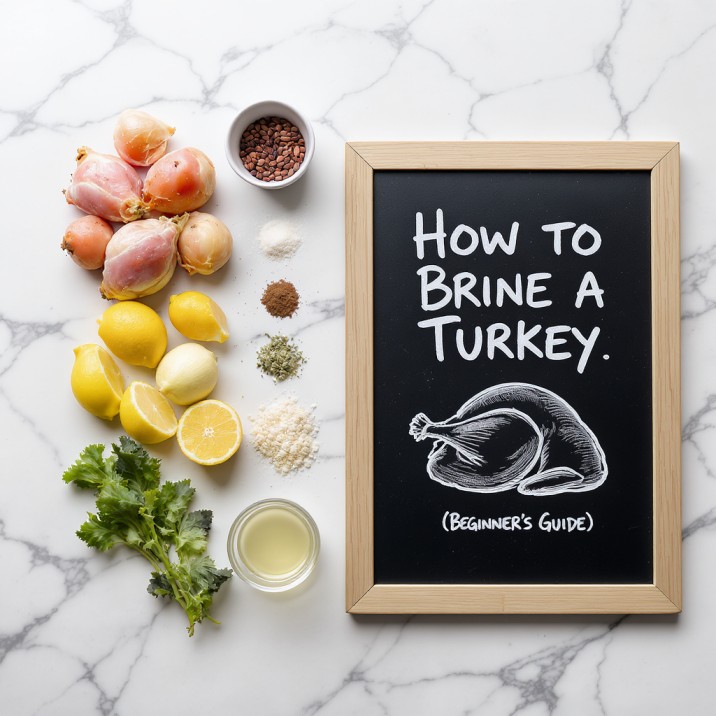
This is the easiest, cleanest, and most foolproof way how to brine a turkey for a juicy, flavorful bird with super-crispy skin.
Welcome to your first turkey! Let’s get one thing straight: you can absolutely do this. The most intimidating part of the holiday is cooking that giant bird, and the biggest fear is that it will be dry and boring.
Here at joymelife, we’re going to walk you through this, step by step. No confusing science, just a foolproof plan.
What is Brining? (And Why It’s Your Secret Weapon)
In simple terms:
- Brining = Using salt to help your turkey absorb and retain moisture.
- Why? Turkey breast is very lean, so it dries out quickly when cooking. The brine acts like a “moisture insurance,” soaking seasoned liquid into the meat.
- The Result: A juicy, tender turkey that’s flavorful from the skin to the bone, not just on the outside.
STOP! The #1 Mistake You Must Avoid (Please Read This First!)
This is the most important part of this guide.
Do NOT brine a turkey that is labeled “Kosher,” “Enhanced,” or “Self-Basting.”
- Why? These turkeys have already been brined (injected with a salt solution) at the factory. If you brine them again, you will have a mushy, inedibly salty turkey.
- What to Buy: Look for a turkey that says “Natural,” “Un-enhanced,” “Heritage,” or “Organic.” The only ingredient should be “Turkey.” As Bon Appétit magazine often reminds its readers, this is the most common and tragic Thanksgiving mistake.
Wet Brine vs. Dry Brine: A Beginner’s Breakdown
There are two ways to do this. Here’s the simple breakdown.
| Feature | Wet Brine (The Classic Soak) | Dry Brine (The Modern Method) |
| What is it? | Soaking the turkey in a big bucket of salt water. | Rubbing the turkey with salt and letting it rest in the fridge. |
| The Mess | High. You need a 5-gallon bucket and have to find a place to keep it cold. It involves sloshing raw turkey water. | Low. No water, no sloshing. All you need is a baking sheet. |
| The Result | Very juicy, plump, and subtly flavored. | Very juicy, concentrated “turkey” flavor and super-crispy skin. |
| Beginner-Friendly? | No. It’s a huge logistical pain. | YES. This is the foolproof method. |
Our Pick for Beginners: The Dry Brine (Easier, Cleaner, Crispier)
I cannot recommend this method enough for a first-timer. It’s clean, it takes up minimal space (just a baking sheet in your fridge), and it produces a better turkey with shatteringly crisp skin.
The salt draws out the turkey’s own juices, which then mix with the salt and are reabsorbed. It’s magic.
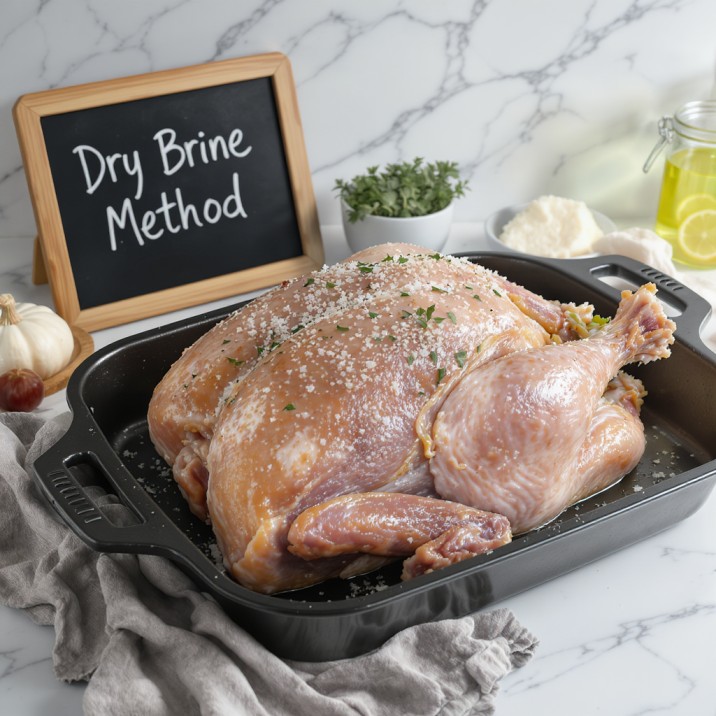
Method 1: How to Dry Brine (The Easy, No-Mess Method)
Super-Simple Dry Brine Ingredients
- Kosher Salt: This is the only thing you truly need. Do not use table salt.
- The Ratio: 1 tablespoon of Kosher Salt for every 4-5 pounds of turkey.
- Optional (but nice): 1-2 tablespoons of brown sugar (helps skin brown), 1 tablespoon of black pepper.
Example Ratios:
- 12-16 lb turkey: 3-4 tablespoons Kosher salt
- 16-20 lb turkey: 4-5 tablespoons Kosher salt
Step-by-Step Dry Brining
- Prep Your Bird (Day 1, 2, or 3): This needs 1-3 days. Make sure your turkey is fully thawed. Remove the giblets and neck from the cavity.
- Pat It DRY: This is a crucial step. Use paper towels to pat the entire turkey bone-dry, inside and out.
- Mix Your Rub: In a small bowl, mix your measured salt with the optional sugar and pepper.
- Season Everything: Place your turkey on a wire rack set inside a rimmed baking sheet. Sprinkle the salt rub all over the bird—breasts, legs, wings, back. Get it inside the cavity, too.
- Let it Rest (The “Magic” Part): Place the entire baking sheet (with the turkey on the rack) UNCOVERED in your refrigerator.
- Minimum Time: 24 hours.
- Perfect Time: 48 hours.
- Maximum Time: 72 hours.
- That’s it. You’re done. The fridge air will dry out the skin, which is the secret to crispy-skin perfection. As food scientists at Serious Eats explain, this process not only seasons the meat but also dehydrates the skin.
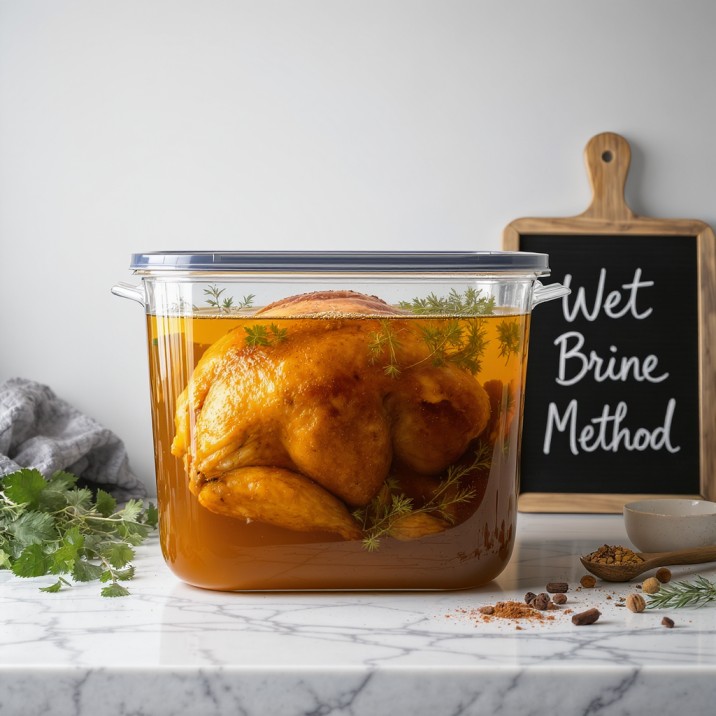
Method 2: How to Wet Brine (The Classic Method)
If you have the space and the bucket, this also works great.
Super-Simple Wet Brine Ingredients
- The Ratio: 1 cup Kosher Salt per 1 gallon (4 quarts) of Water.
- Aromatics (Optional): 1/2 cup brown sugar, 1 head of garlic (cut in half), a few bay leaves, 1 tbsp black peppercorns.
- You will need: A 5-gallon food-safe bucket or a large brining bag.
Step-by-Step Wet Brining
- Prep Your Bird (Day 1): This needs 12-24 hours. Make sure your turkey is fully thawed. Remove giblets and neck.
- Make the Brine: In a large pot, bring 1 gallon of water, the salt, sugar, and any aromatics to a boil. Stir until the salt and sugar are dissolved.
- COOL THE BRINE! This is a critical safety step. You must let this brine cool 100% to room temperature. You can add 1 gallon of ice to cool it down instantly.
- The Soak: Place your turkey in your brining bag or bucket. Pour the cooled brine over the bird. Add more cold water if needed until the turkey is fully submerged.
- Keep it COLD: The turkey must stay cold (below 40°F/4°C). Place the bucket in the fridge or, if using a cooler, pack it with ice and keep it in a cold garage.
- Brine: Let it soak for 12-24 hours. (A good rule is 1 hour per pound, but don’t go over 24).
You’re Done Brining… Now What? (A Critical Step!)
This is the second place beginners get confused.
After a Dry Brine (The Easy Part)
- DO NOT RINSE!
- All the salt has been absorbed. Rinsing will just make your crispy skin soggy.
- All you do is take the turkey out of the fridge and pat it dry with paper towels. It’s ready to roast. (You can rub it with unsalted butter or oil and herbs now, but no more salt).
After a Wet Brine (The Messy Part)
- YOU MUST RINSE!
- Remove the turkey from the brine (discard the brine).
- Rinse the turkey thoroughly, inside and out, under cold water to remove all the excess salt from the surface.
- Pat it completely dry with paper towels. For crispy skin, let it air-dry on a rack in the fridge (uncovered) for a few hours.

Your Top 5 Beginner Brining Questions, Answered (FAQ)
My fridge is full! What do I do?
(The #1 Problem) This is why the dry brine is better. It only takes up the space of a baking sheet.
For a wet brine, you must use a cooler. Place the turkey in a brining bag inside the cooler. Add the brine, and then pack the cooler with bags of ice. Keep it in a cold garage or on a porch (if it’s cold enough) and check the ice daily.
How long exactly should I brine?
Dry Brine: 1-3 days. 2 days (48 hours) is the sweet spot.
Wet Brine: 12-24 hours. Do not go over 24 hours.
Do I still put butter and herbs on it after brining?
Yes! Just DO NOT ADD ANY MORE SALT to your herb butter or rub. Your bird is already seasoned. After brining (and rinsing/drying, if wet-brining), you can rub it all over with unsalted butter, olive oil, and herbs like sage, thyme, and rosemary right before it goes in the oven.
Dry brining… uncovered… in the fridge? Is that safe?
Yes, 100%. A cold refrigerator is a safe, dry environment. This is the same principle as dry-aging a steak. It’s perfectly safe, and it is the key to crispy skin. Just make sure you put it on the bottom shelf so it doesn’t drip on anything.
Conclusion: You Can Do This!
You are now ready to brine a turkey. By choosing the simple dry-brine method and buying the right (un-enhanced) bird, you have already guaranteed yourself a juicy, flavorful, and successful holiday. It’s that easy.
Now it’s your turn!
Are you team Dry Brine or Wet Brine? Let us know in the comments at joymelife!
Recipe Card 1: Easy Dry Brine (Beginner’s Method)
This is the easiest, cleanest, and most foolproof way how to brine a turkey for a juicy, flavorful bird with super-crispy skin.
| Prep Time: | Brine Time: | Total Time: | Servings: |
| 15 minutes | 24-72 hours | 1-3 days | 1 turkey |
Ingredients
- 1 Natural Turkey (12-20 lbs, must NOT be Kosher or Enhanced)
- 3-5 tbsp Kosher Salt (see ratio below)
- 1-2 tbsp Brown Sugar (Optional)
- 1 tbsp Black Pepper (Optional)
Salt Ratio: 1 tablespoon of Kosher Salt per 4-5 lbs of turkey.
Instructions
- Thaw: Ensure your turkey is 100% thawed. Remove giblets and neck.
- Dry: Pat the turkey exceptionally dry with paper towels.
- Mix: In a small bowl, combine your measured salt with optional sugar or pepper.
- Rub: Place the turkey on a wire rack set inside a baking sheet. Rub the salt mixture all over the bird—breast, legs, wings, back, and inside the cavity.
- Chill: Place the entire baking sheet (turkey on the rack) UNCOVERED in the refrigerator for 24 to 72 hours.
- Roast: DO NOT RINSE. Pat the turkey dry with paper towels. Rub with unsalted butter or oil and herbs (no more salt!). Roast according to your recipe until a thermometer reads 165°F (74°C).
Recipe Card 2: Classic Wet Brine
This is the classic method for an extra-plump turkey. Make sure you have the space and a large, food-safe container.
| Prep Time: | Brine Time: | Total Time: | Servings: |
| 30 minutes | 12-24 hours | ~24 hours 30 mins | 1 turkey |
Ingredients
- 1 Natural Turkey (12-16 lbs, must NOT be Kosher or Enhanced)
- 1 gallon (4 quarts) Water
- 1 cup (220g) Kosher Salt (Diamond Crystal brand)
- 1/2 cup (100g) Granulated Sugar
- 1-2 gallons Ice Water or Ice
- Optional: Bay leaves, 1 head of garlic, 1 tbsp peppercorns.
Instructions
- Thaw: Ensure your turkey is 100% thawed. Remove giblets.
- Make Concentrate: In a large pot, bring 1 gallon of water, the salt, sugar, and any aromatics to a boil. Stir to dissolve.
- COOL: Let the brine cool completely to room temperature.
- Submerge: Place the turkey in a large brining bag or food-safe bucket. Pour the cooled brine over it.
- Add Ice Water: Add ice water until the bird is fully submerged.
- Chill: Keep the turkey in the brine in a cold (sub-40°F) place, like a fridge or ice-packed cooler, for 12-24 hours.
- Rinse & Dry: Remove the turkey, discard the brine, and rinse the turkey thoroughly under cold water.
- Dry & Roast: Pat the turkey completely dry. Roast according to your recipe until a thermometer reads 165°F (74°C), as recommended by the USDA for safety.